Welcome To My Geeky Gourmet Kitchen! – Pi Day Edition
Hello everyone! My name is Katie, and to just to start us off on the right foot, I LOVE FOOD! And not just to consume, but to create. I see cooking as an art form, involving your sense of sight, smell, and taste. Not only that, I love to learn new things. I love learning new and creative techniques to add a special touch to dishes. Once I learn something new, I love to share it with people!
The internet has grown so much, Youtube especially. I love searching for new Youtubers and learning not only their special skills but about them as well. I recently came across an amazing cooking show on YouTube called “Nerdy Nummies” by Rosanna Pansino, and let’s just say, I came away inspired.
She is sweet, energetic, funny, and easy to follow. So to start this new blog, I will be using one of her recipes. My goal is to show you not only can you make these amazing recipes, but your kiddos can too! Now without further ado, I would like to present:
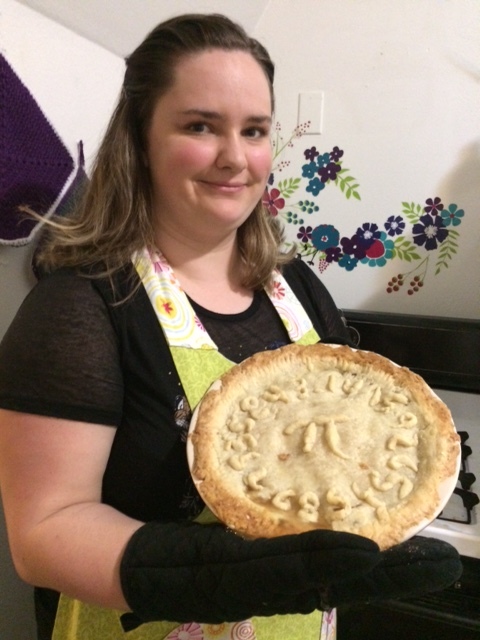
Apple Pi Pie
“Pi” day is the coming Monday (3/14) and what is more fun than sharing a pie with friends? I will be honest, I have never made a apple pie before but in a quest to learn new things I decided to give this a shot. This just looked to fun not to try. And the results, AMAZING, FANTASTIC, really no words!
 I will put the recipe here in the blog, but for those who like cookbooks, I used the recipe on Rosanna’s cookbook “The Nerdy Nummies Cookbook”
So now it’s time to get started! First your ingredients.
For your pie dough:
2 ½ cups of flour
2 tablespoons of sugar
¼ teaspoon of salt
2 sticks of butter (cold salted butter cubed)
¼ to ½ cup of ice water.
For your filling:
3 ½ pounds of Granny smith Apples
⅓ cup of sugar
⅓ cup of brown sugar
3 tablespoons of flour
1 ½ teaspoons of ground cinnamon
¼ teaspoon cloves
⅛ teaspoon of allspice
3 tablespoons of lemon juice
1 ½ tablespoons of salted butter, cubed
Then your egg wash: 1 egg beaten with 2 tablespoons of water.
For decorating, you will need large (2 in) and small (¾ inch) number cookie cutters. If you can’t find the smaller cutters (like me), then you can do this decoration freestyle. Also a 9 inch pie pan, of course.
Now let us get started!
 First, you will need to assembly your pie dough.
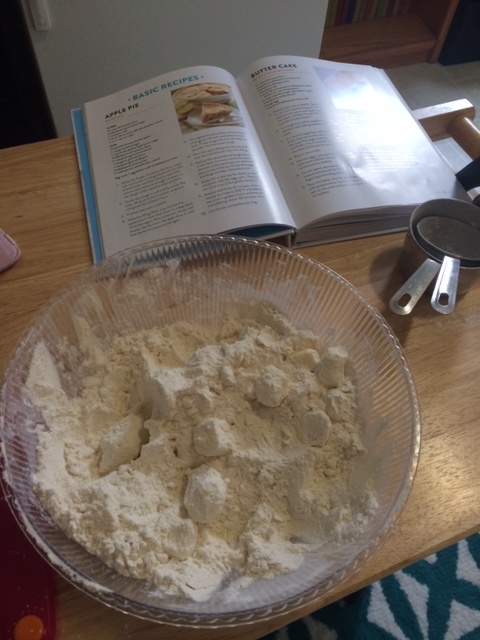
- Combine flour, sugar, salt, and butter in a large bowl. Mix with a hand mixer of even your own hands. Mix until the dough resembles coarse meal. Then add just enough ice water so that the dough holds together. To test this, pinch to dough. It should hold its shape.
- Divide the dough into half and form them into 2 flat disks. Wrap them in plastic wrap and let them refrigerate for at least an hour.
While the dough is chilling, we can get started on the filling.
- When preparing the filling, I found it easier to start by peeling the apples first.
- With a straight edge knife, cut the apples into ¼ inch thick slices. Cut vertically to avoid the core.
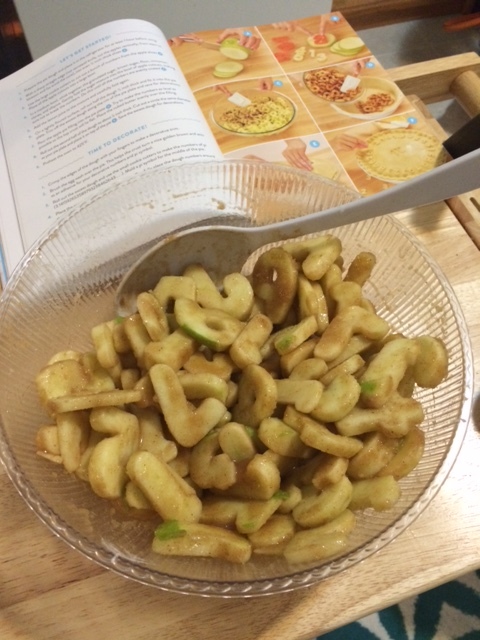
- Use the large cookie cutters to start cutting out the numbers in the apple slices. To avoid wasting a bunch of apples, you will take to start puzzling the pieces on the apple slices to get as much as you can. Sometimes a 2 and 7 can fit together. Place all the apple slices in a large bowel.
- In a medium bowl, combine the sugar, brown sugar, flour, cinnamon, cloves, and allspice. Gently mix the sugar mix into the large bowl of apple slices. Carefully mix so as not to break the numbers, and continue until all the pieces are evenly coated.
- Add lemon juice with the apples, and mix again.
 Put the filling to the side, and now it’s time to prepare the pie!
- Lightly flour your workstation. Then take 1 dough half and roll it out to about ¼ inch thick. Once it’s rolled out, fit it to your pie dish. Gently press along the sides to mold to the pie dish. Cut off any excess and put to the side for decorations.
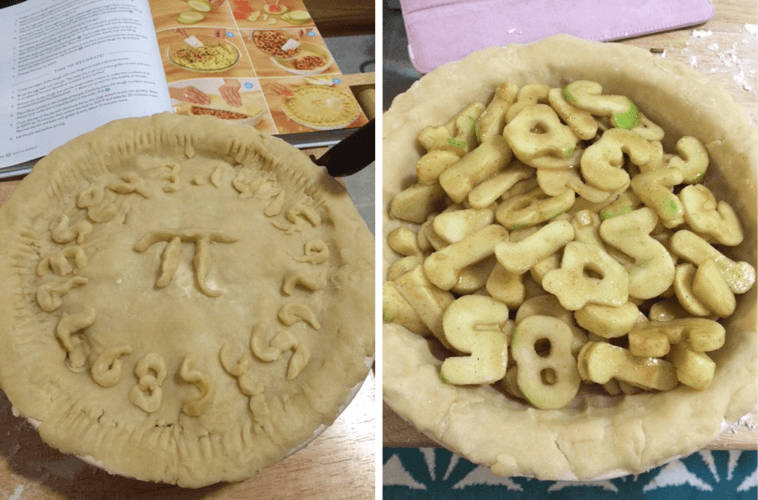
- Pour your apple mix into the pie dish. It would be best to make the apple slices as leveled as possible so the crust will lay flat .Place cubed butter evenly on top of the apples.
- Refour your workstation (if need be) and roll out the 2 dough half until it is about ¼ an inch thick. Place on top of your pie and cut off excess dough for decorations.
- Preheat oven to 425 degrees F.
While the oven is heating, it’s time to decorate!
- Crimp the edges of your pie for a decorative edge.
- Brush the top of the pie with the egg wash. This will not only help your pie get a nice golden brown color but acts as an adhesive for your decorations.
- Roll out the excess dough. Then, either use the small cookie cutters or form yourself, the numbers of pi. (I don’t know about all of you, but I can’t remember past the first 5 numbers, so here is a little cheat sheet: 3.141592653589793238462643…….) Mold the pi symbol in the middle.
- Cover the pie with aluminum foil and bake at 425 for 15 min. Then reduce heat to 350 and bake for 20 min more. Remove the foil and bake for about 10 to 20 more min, until the crust is a golden brown.
- Let pie cool before serving.
- ENJOY!
I hope you have as much fun as I did in making this pie! It was so fun not only to make but to share with good friends. Thank you for letting me share this fun treat with you all and I will see you next time for the next geeky treat!
Let us know if you decide to try this for yourself and send us photos! We love seeing everyone’s creations!
Have an awesome “Pi” day!


This looks amazing, Katie! Yum!!