3 Easy Steps to Optimize Any Photo
It’s true that your marketing agency, by and large, will do the majority of blog posting on your behalf, but there are times when you want and need to post something on your own. We don’t want you to feel left out in the cold when it comes to photo optimization.
Maybe it’s a social media post or an article about an event that your office is hosting.
Here are three things you need to know when using images, including how to optimize them quickly and effectively.
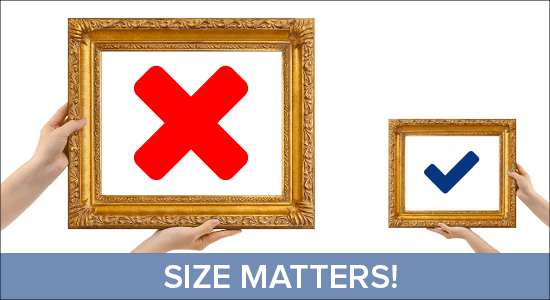
1. Make It the Right Size
There are two aspects to an image file size. The first is the dimension of the image, and the second is how much storage space the image requires.
When optimizing an image, you want the dimensions to be as big as possible, yet you want the storage space to be as small as possible. In the digital age, speed is king!
Crop your photo to the correct dimensions, then optimize it using a free photo optimization service such as Optimizillla, which compresses the file size to make it smaller.

2. Name It Correctly
You want your image file name to describe the image. There are literally billions of images out there, so you don’t want to use a generic image file name like “fordmustang.jpg” (or worse, leaving your image with an automatic camera numbering title like “14820.jpg”).
Instead, you want to use something a bit more descriptive; for example, “my-bright-red-2016-ford-mustang-gt.jpg”.
That image file name does a much better job of describing the image than a generic name would do. Plus, the generic name would make it tough for the image to compete in the rankings.
A search engine looks at the filename as an indication of what’s in the file, so you need to use proper keywords as well as characters that spiders can read.
Need help? Download our FREE image naming cheat sheet here.

3. Add a Descriptive Tag
The last, but most definitely not least thing you need to know about photo optimization is the correct use of alt tag descriptions.
Alt tags are crucial for image use for the following reasons:
- If images fail to load – If, for any reason, an image does not render on a web page, the alt tag will display in its place. This means visitors to that page will be able to understand what image should be there, even though they are not able to view it.
- For search engines – Google and Bing regularly crawl web pages. It is easy for them to understand text copy on a page; however, images cannot be equally read. This is where alt tag descriptions come into play. Alt-text is used by search engines to describe what the image is about, which allows search engines to give users better results when performing an image search.
- For the visually impaired – The visually impaired tend to use screen readers in order to browse web pages. These screen readers will identify and interpret what is being displayed on their screen. Alt-text is needed to explain and describe to people what is on your page.
Think Twitter. Twitter users are great at jamming crucial action words into a 140 character limit. Use that same thinking to describe your photos. So, if you have an image of a big red Adirondack chair, you should use the alt tag that best describes it, which is alt=”big red Adirondack chair.”
Download our free image naming cheat sheet here.
An image really is worth a thousand words, but it could also be worth real caching if it is optimized, and labeled correctly. So the next time you need to use an image online, remember: Size it, name it, and tag it.